一、准备工作
1、创建一个vue-cli程序
2、安装vue-router
npm install vue-router --save-dev

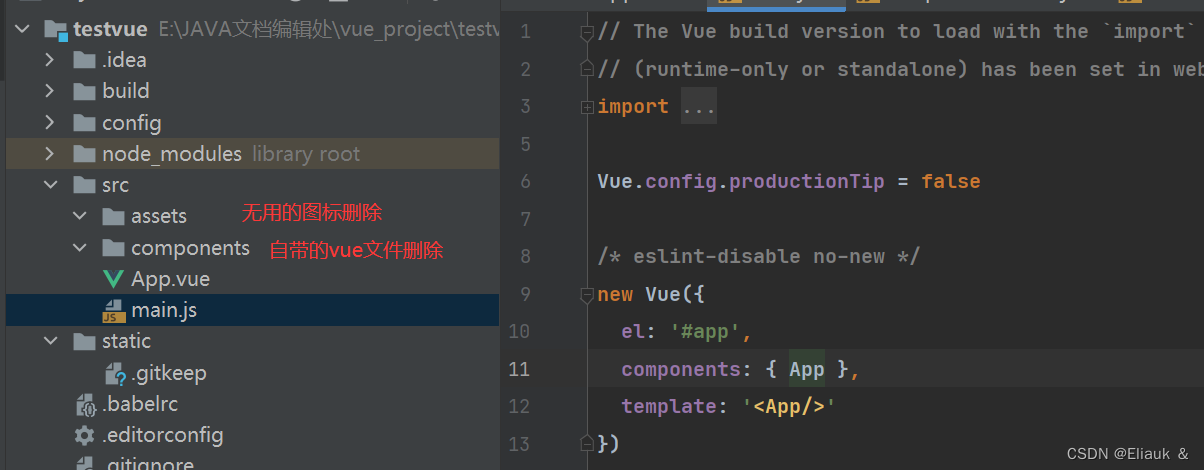
3、删除多余的东西
二、创建router
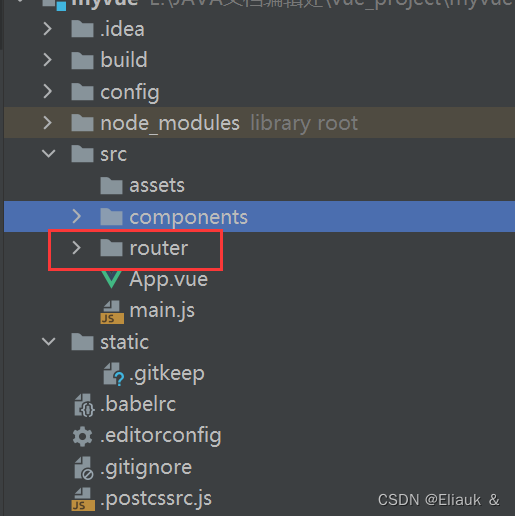
1、在src下创建router包
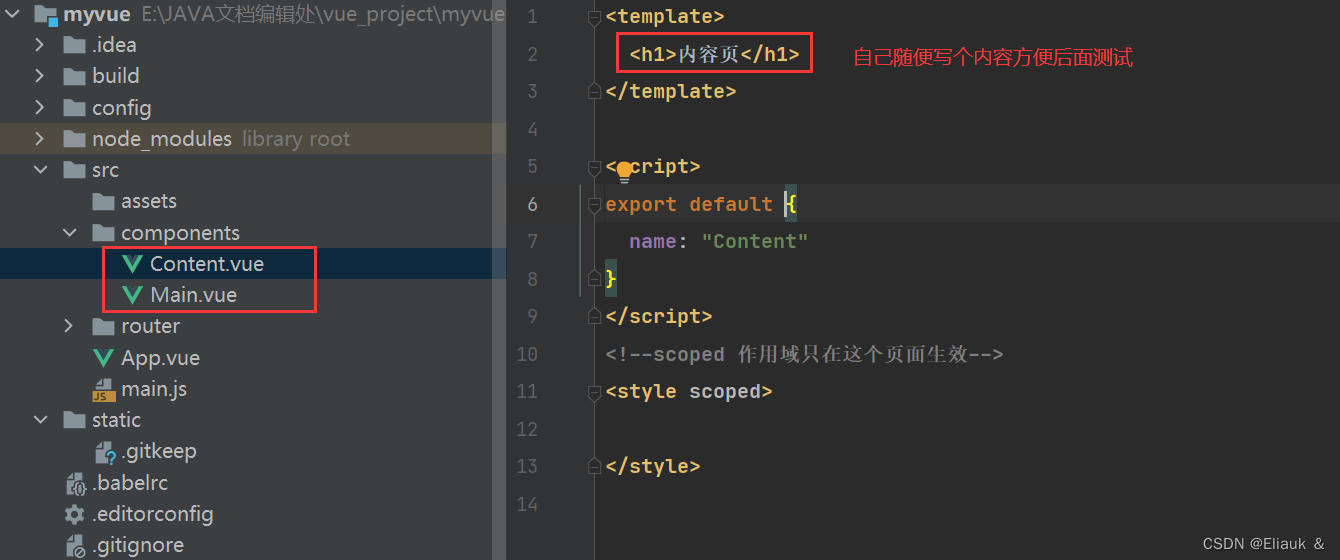
2、创建跳转的component
分别创建一个content.vue和main.vue文件
3、在router包下创建index.js文件
index.js文件中包含了所需的路由信息,详细操作如下代码,注释详解。
import vue from 'vue'//导入vue的语法
import vuerouter from 'vue-router'//导入vue-router
import content from "../components/content";//导入创建的组件
import main from "../components/main";
//安装路由
vue.use(vuerouter);//通过此语句使导入的vuerouter路由生效

//配置导出路由,注意vuerouter名要一致
export default new vuerouter({
  routes:[{
    //路由路径 @requestmapping相似
    path: '/content',
    //名字
    name:'content',
    //跳转的组件
    component:content
    //以上语句说明,当我们访问到'/content'路由时,就会跳转到content组件,显示该vue页面
  },{
    //路由路径
    path: '/main',
    //名字
    name:'main',
    //跳转的组件
    component:main
  }
  ]
})
三、router跳转
上面把我们需要做的东西装备好之后,现在来实现一下路由跳转的功能。
流程:

main.js代码:
import vue from 'vue'
import app from './app'
//文件在当前目录下的router下,自动扫秒里面的路由配置
import router from './router'
vue.config.productiontip = false
new vue({
  el: '#app',
  //配置路由,以便全局使用
  router,
  components:{app},
  template:'<app/>'
})
app.vue代码:
<template>
  <div id="app">
    <h1>vue-router</h1>
<!--  控制路由  -->
    <router-link to="/main">首页</router-link>
    <router-link to="/content">内容页</router-link>
<!--  控制页面展示  -->
    <router-view></router-view>
  </div>
</template>

<script>
export default {
  name: 'app',
}
</script>

<style>
#app {
  font-family: 'avenir', helvetica, arial, sans-serif;
  -webkit-font-smoothing: antialiased;
  -moz-osx-font-smoothing: grayscale;
  text-align: center;
  color: #2c3e50;
  margin-top: 60px;
}
</style>
效果:


四、总结
这部分内容是比较简单的了,但是我个人觉得对于原来是后端开发的想学一些关于vue页面跳转,数据交互的小伙伴来说还是有点帮助的。
以上就是vue通过vue-router实现页面跳转的全过程的详细内容,更多关于vue vue-router页面跳转的资料请关注代码网其它相关文章!


发表评论